Jul
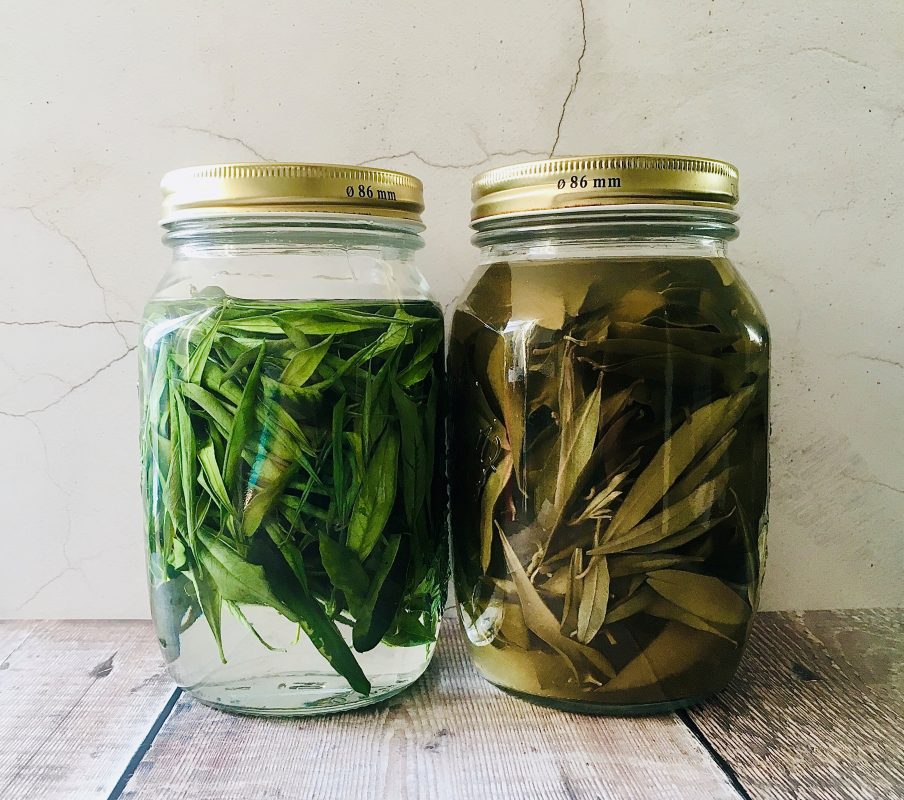
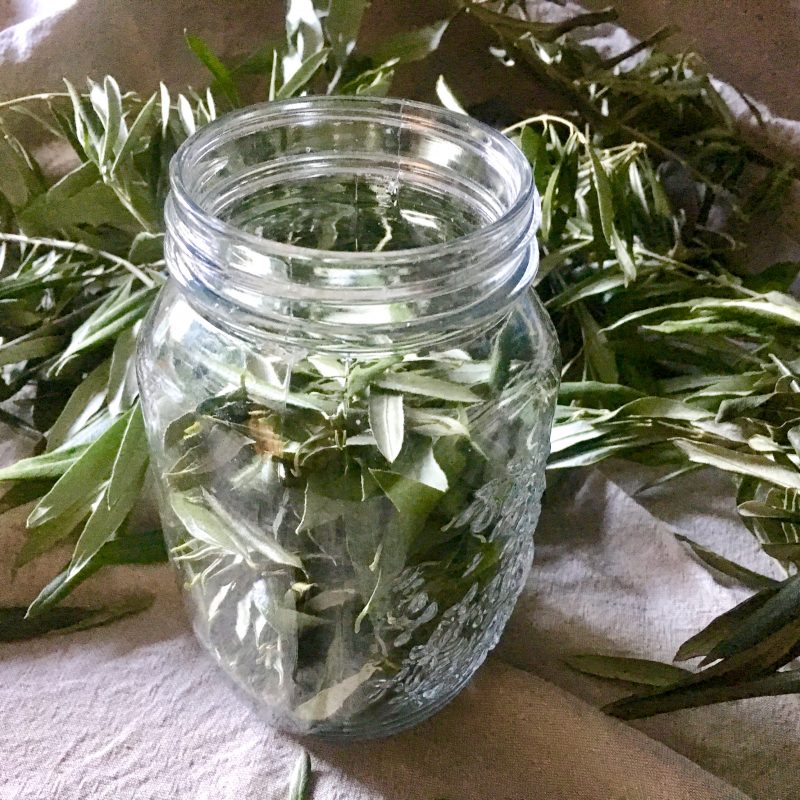
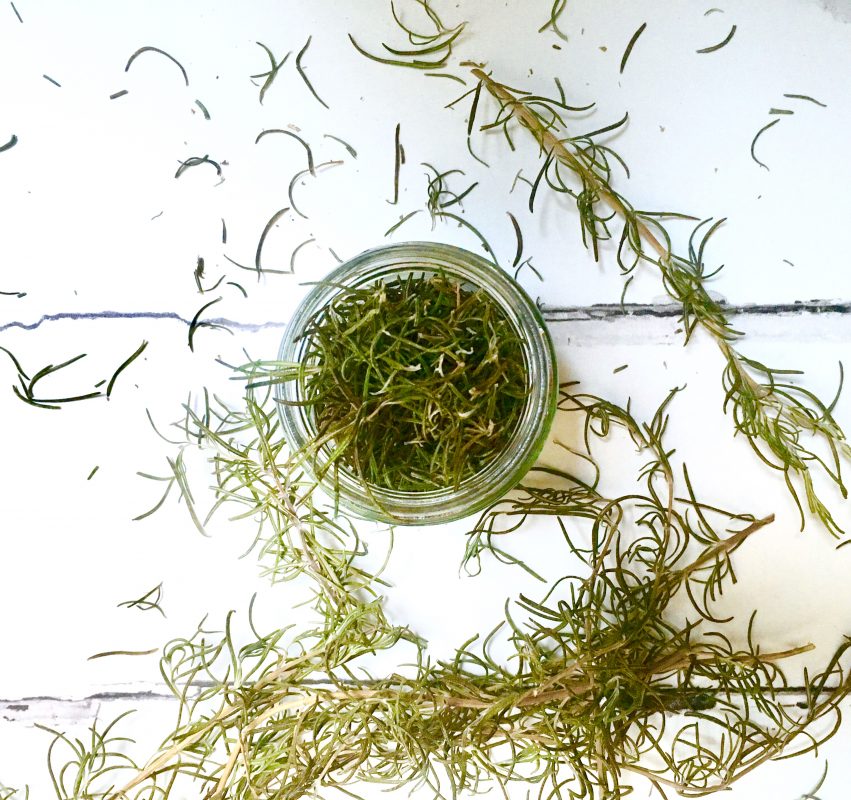
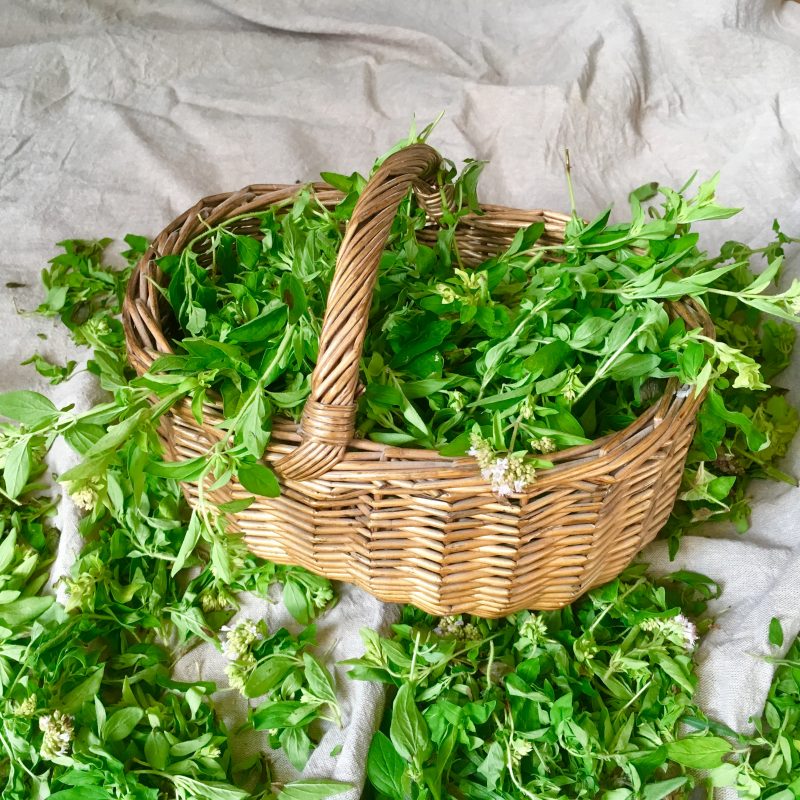
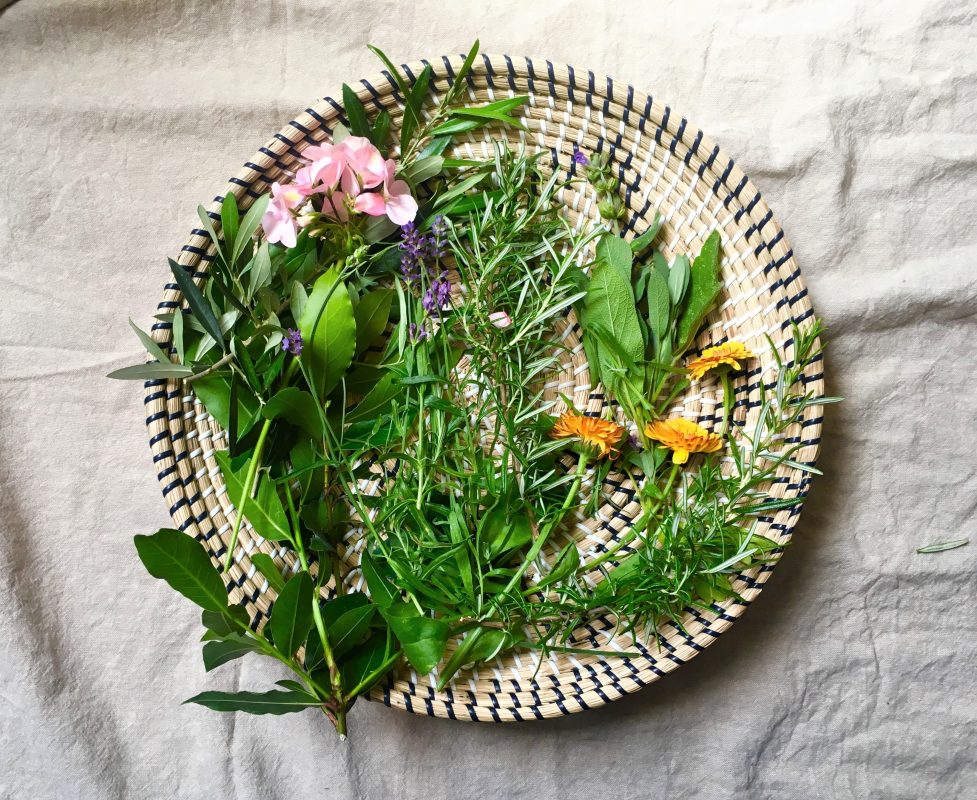
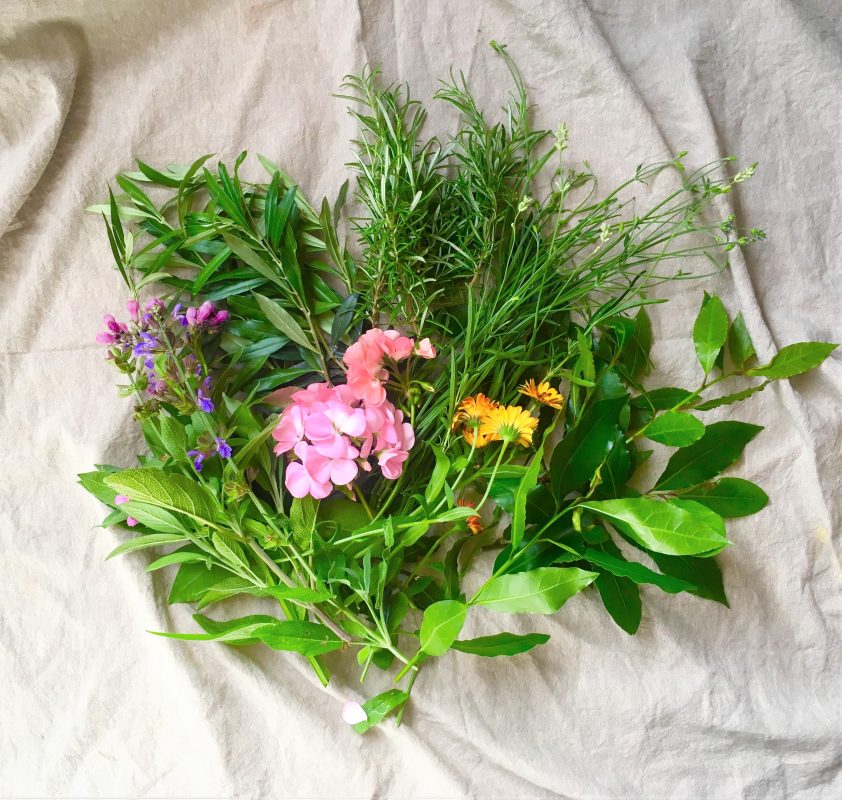
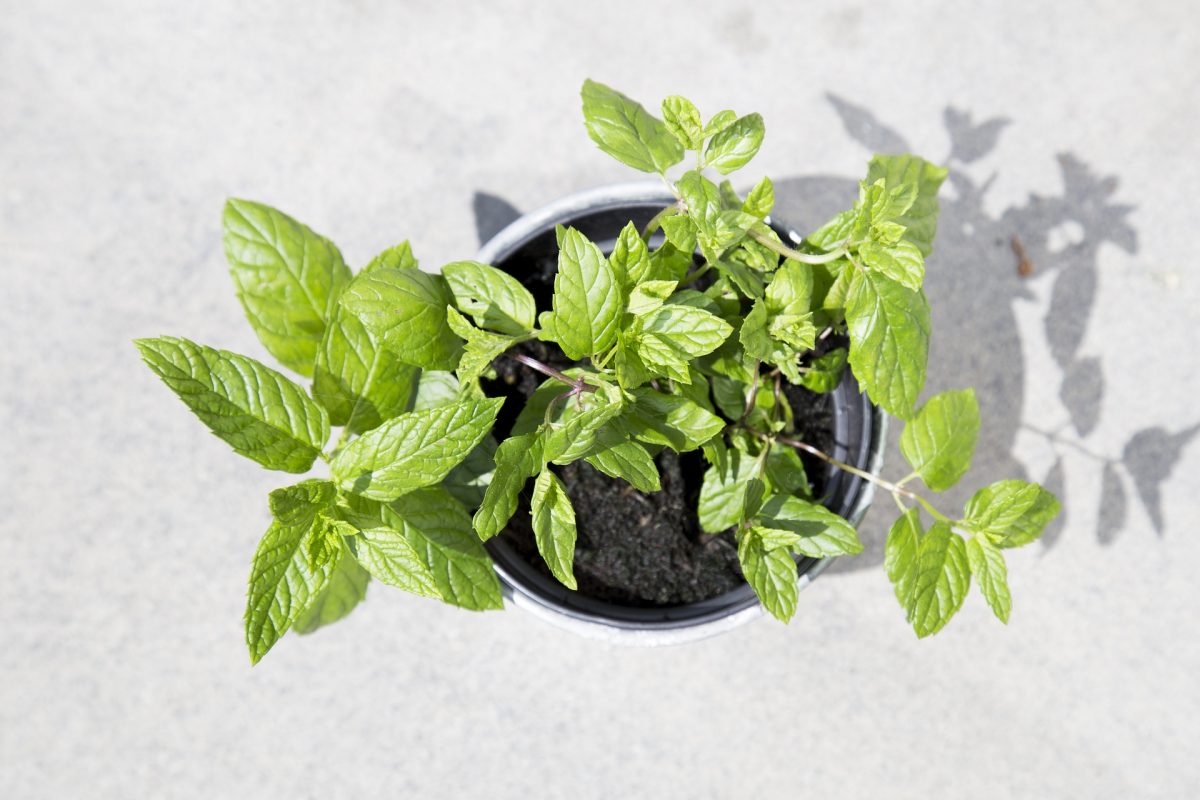
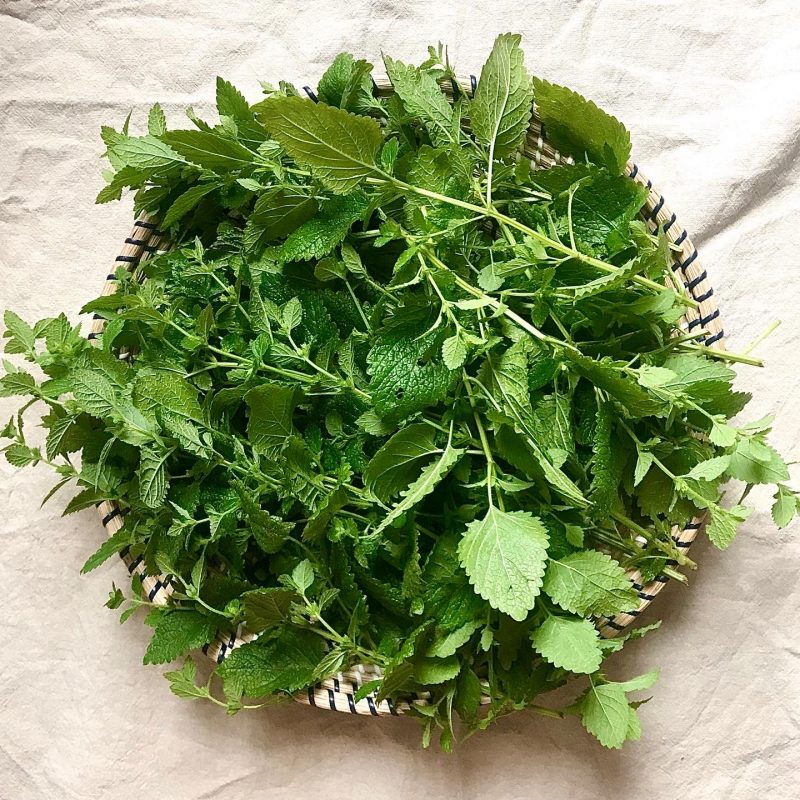
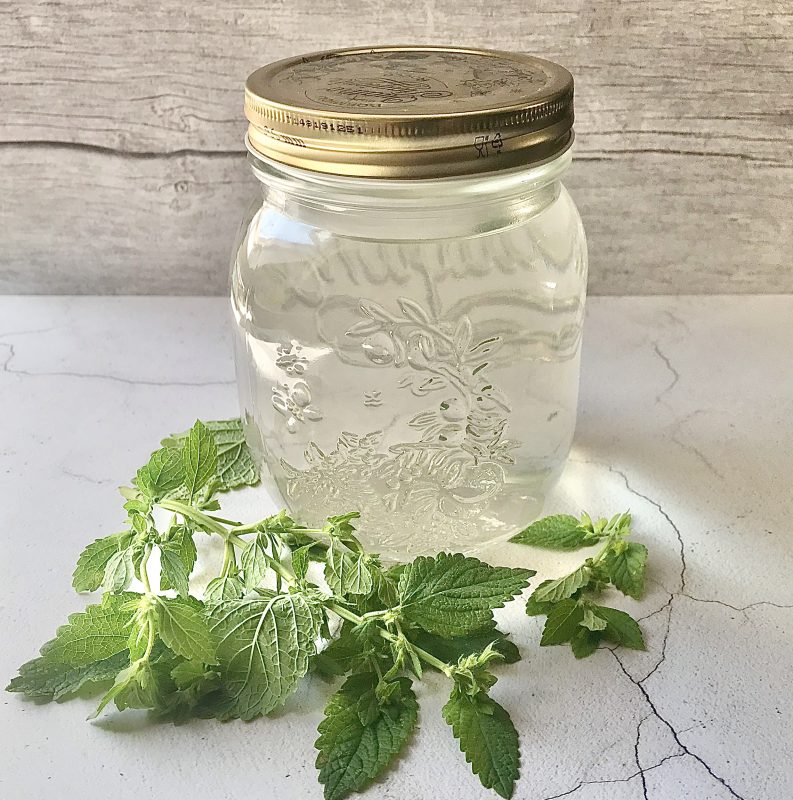
As summer sets in and the ritual of gathering plants begins, I am making hydrosol from garden gathered plants. The lemon balm has gone wild in the beds and this makes a lovely light lemony floral water that can be used externally and internally.
What is a hydrosol?
A true hydrosol or hydrolat is the water composed when the plant material is gently steam distilled to release their unique medicinal therapeutic properties that capture the essence of the live plant.
These aromatic plant water extracts also contain tiny amounts of essential oil, therefore resembles the volatile plant oil but in a far more gentle, ethereal form. This makes them suitable to apply directly on to the skin without dilution. I don’t add any preservatives as it would lose its therapeutic value. As long as the container is sterile and it is kept in the fridge, the hydrosol can last for over a year, depending on which plant is used.
“For therapeutic use, hydrosols need to be totally natural, with no added components, stabilisers or preservatives”
– International Federation Of Aromatherapists.
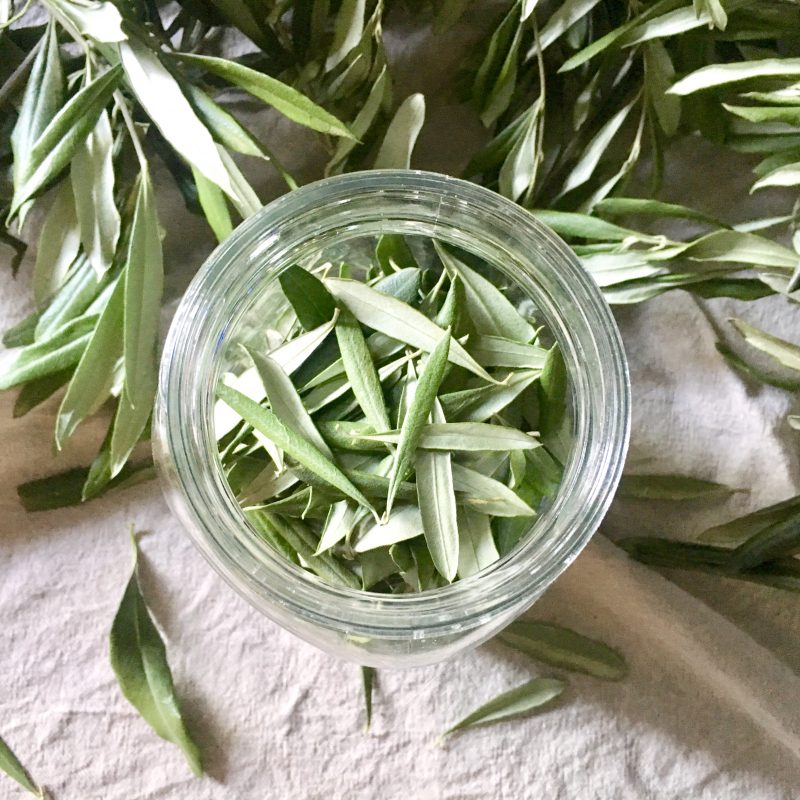
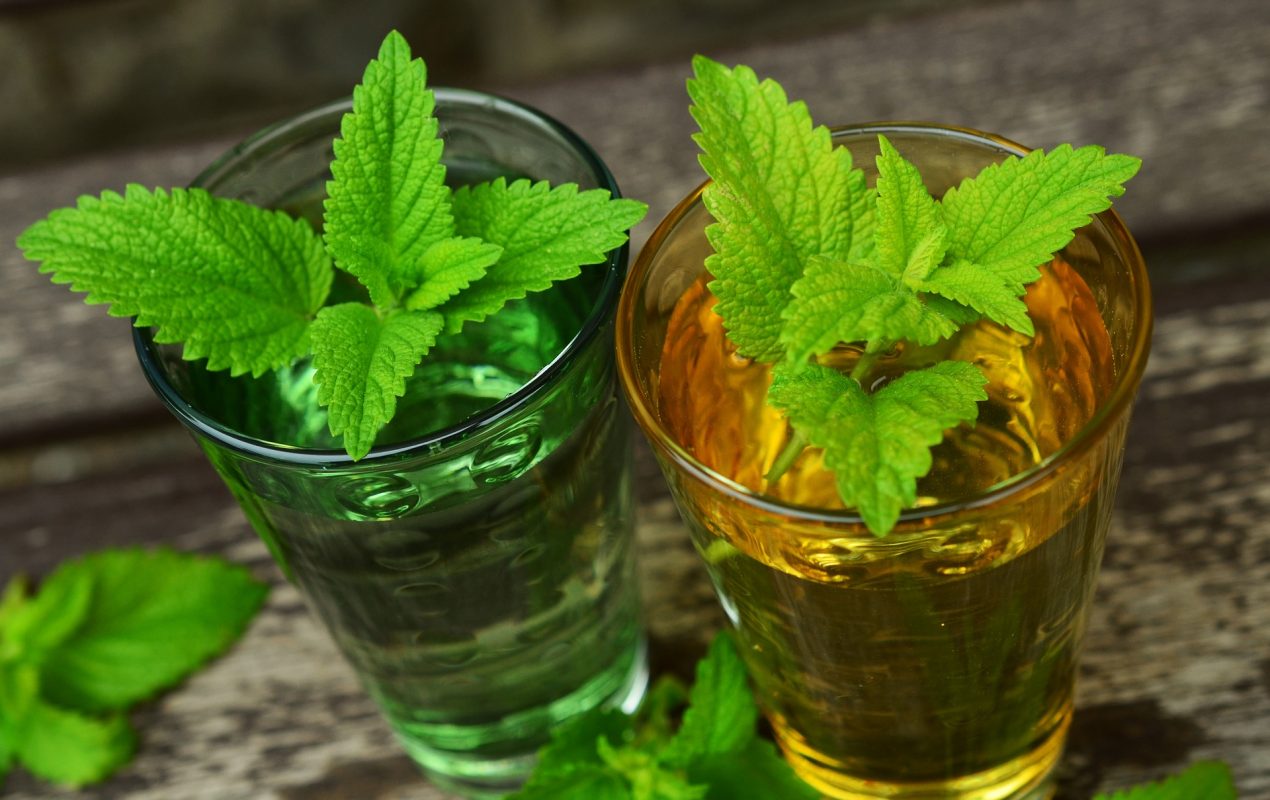
The lemon balm is organically grown in my garden and is one of my favourite plants, as its so versatile. The hydrosol has a light lemony scent and is healing and hydrating on the skin. It can be used for rashes, cuts and sores, for eczema and as a face toner. Internally, it is taken for staying calm, and for morning sickness, also known to support ADHA (Hydrosol, the next aromatherapy – Suzanne Catty)
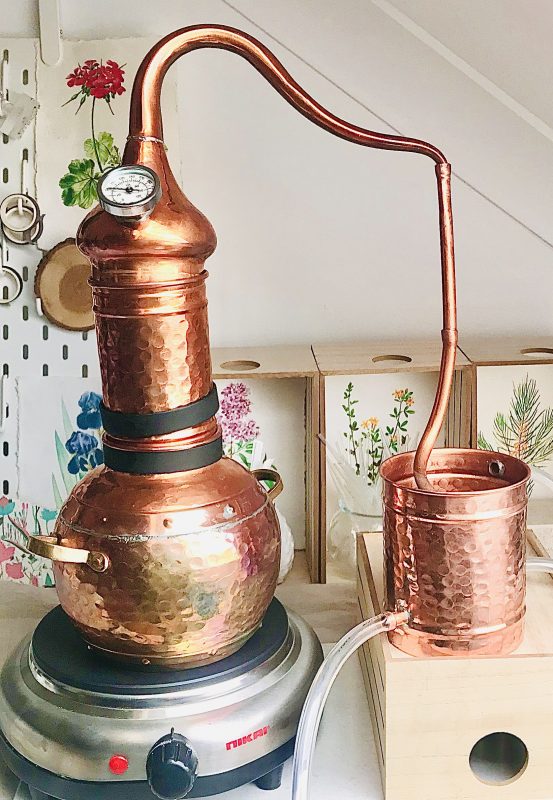
I use a small 2 litres copper rotating alembic which I purchased from copper masters here and did a steam distillation. I chose a copper still because it is the same set up used in medieval times, and there is something beautiful in using the same apparatus and ancient methods. Copper is also a wonderful conducter of heat and has antimicrobial properties, making it ideal for water.
The process is simple but quite enchanting. As the water in the copper pot boils, the steam rises and goes through the plant material, and in to the gooseneck tube. The aromatic plant molecules get swept away with the steam into a coil inside the condenser unit, which is filled with cold water. Once the steam comes in contact with the cold surface of the condensing unit, its converts back into liquid. This creates the hydrosol and a very minuscule amount of essential oil. This is the active therapeutic part of the plant captured in water – pure alchemy!
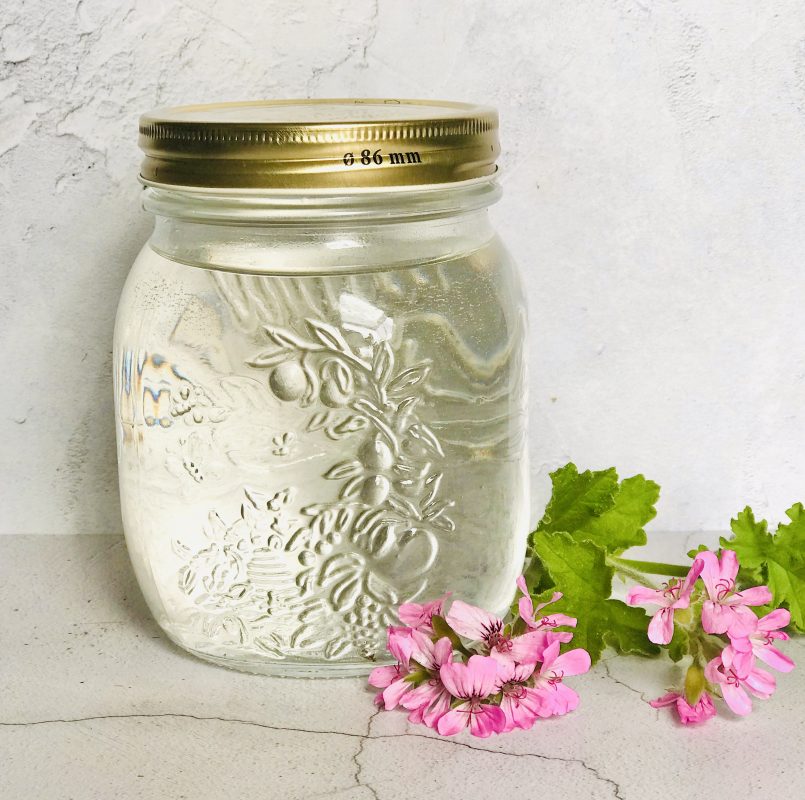
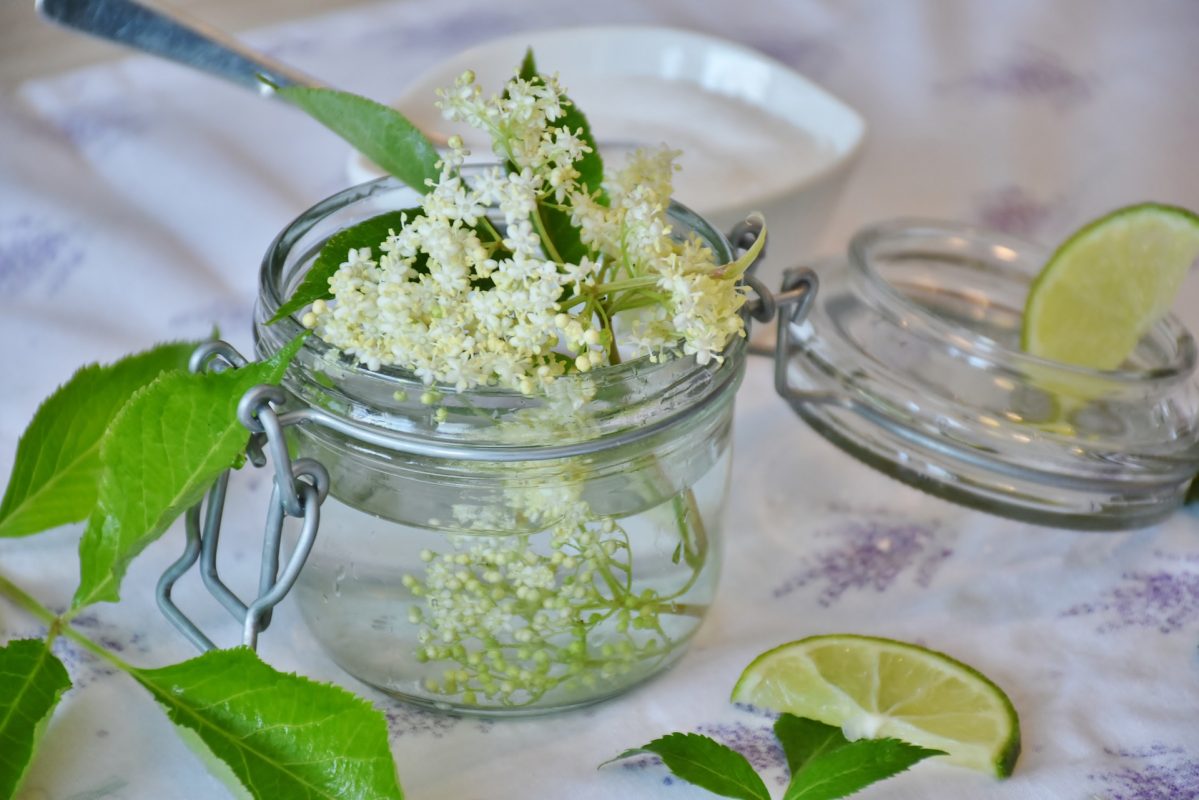
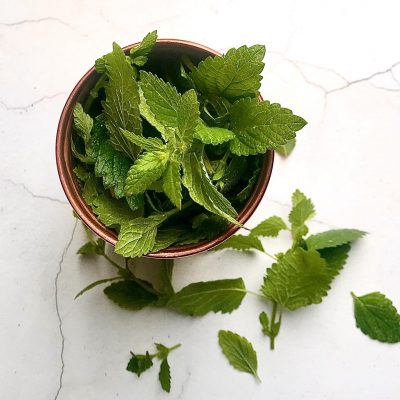
The lemon balm hydrosol took about an hour to produce, and I managed to fill 2 x 700ml glass jars.
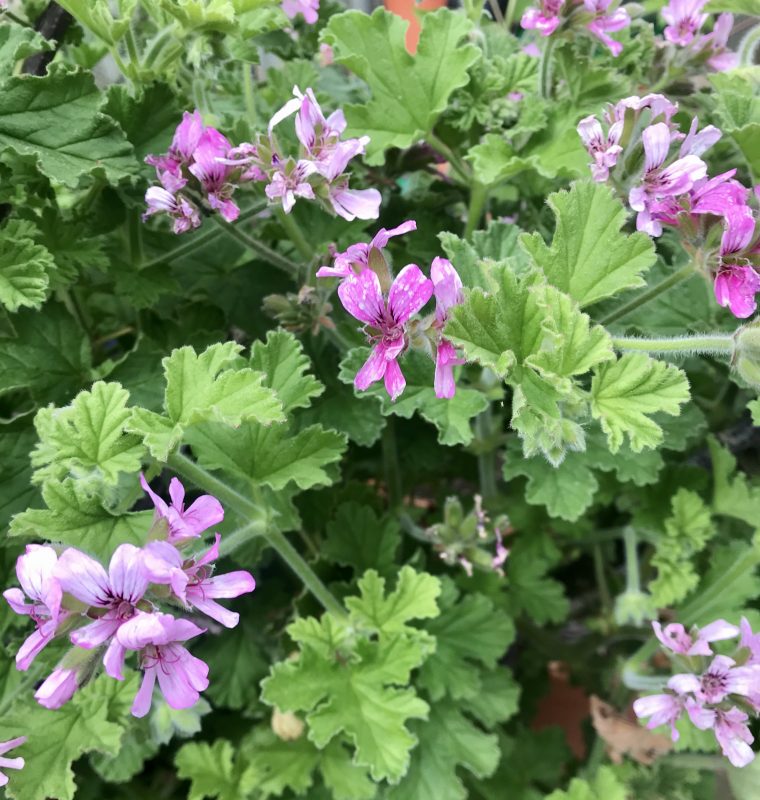
Next, I’m planning to use the rose geranium in my garden to make more hydrosol!
The books I read proir to making hydrosol and would highly recommend are: ‘Hydrosols: The New Aromatherapy – Suzanne Catty and ‘Hydrosol Therapy’ – Lydia Bosson.

UPDATE!
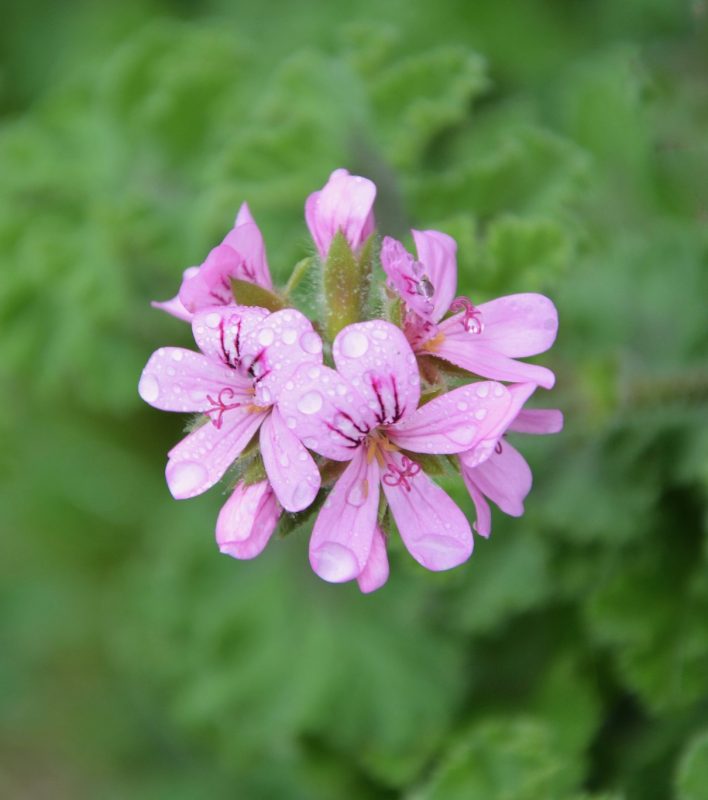
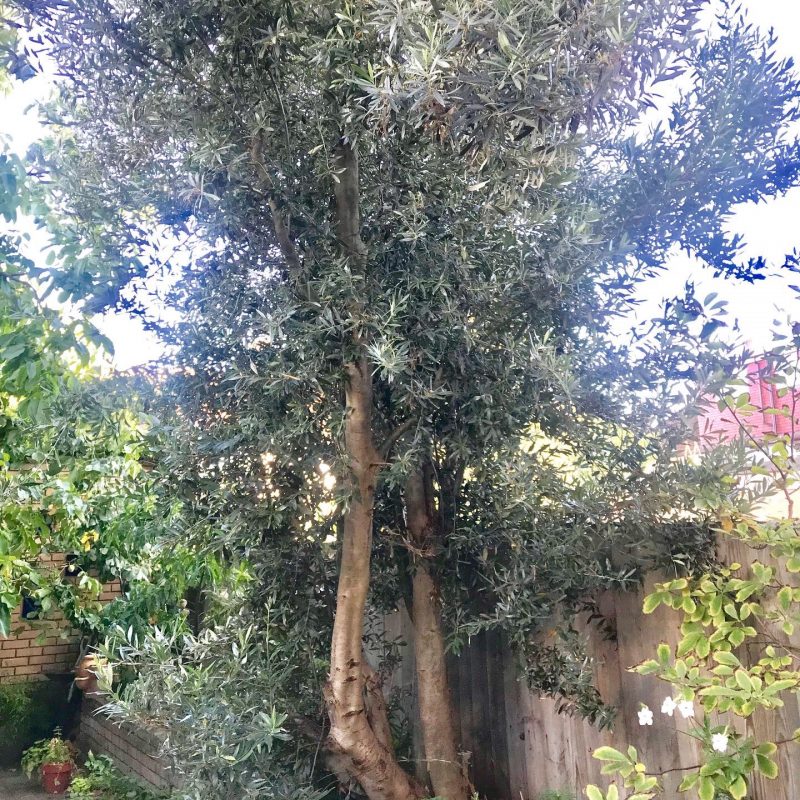
I’ve finally had time to make the Rose geranium (Pelargonium graveolens) hydrosol. I have had a profusion of flowers and leaves this year, these were only small cuttings a few months ago. I have to say, that Rose geraniums have become one of my favourite plant friends and the scent when distilled, envelopes the whole house with a floral sweet, rose like perfume. I really should use it more as a perfume ingredient.
Rose geranium hydrosol is so beautifully cooling to use, and also to taste. A multi tasking floral water, it can be used as a spritzer for the face, for hot flashes, a toner, in creams, and as an air freshener. Suzanne Catty recommends it for rough and dry skin, she mentions it is also anti-inflammatory and calms sunburns, rash and insect bites. I use it throughout the day as a spritzer, especially in hotter weather.